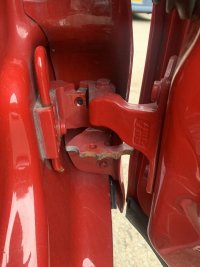
I thought I’d do a ‘how to’ as seeing a lot of questions about the broken spring on front door lower hinges and just replaced mine today.
Tools required-
Size 10 spline tool with extension and ratchet.
13mm spanner
10mm spanner
T15 and T20 Torx bits and driver
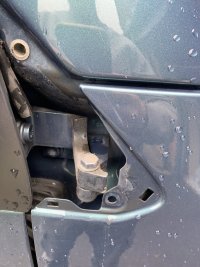
Firstly remove the plastic trim on the wing that covers the top hinge area. There’ll you see a 13mm head size bolt on the top of the hinge.
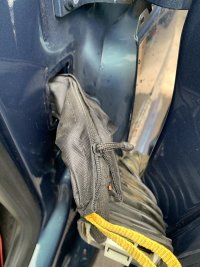
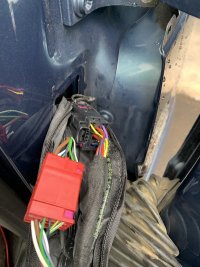
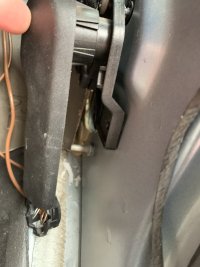
Now open the door and unclip the rubber wiring harness cover from the door post. Once done you’ll see a yellow ribbon, if you pull this out the post a black zipped cover will follow. Unzip this and you’ll find the connections for the door wiring loom, unplug all of these.
Once unplugged remove the 13mm from the top hinge and you’ll see the same on the lower hinge, with both of these removed you can then carefully lift the door up and off (best with 2 people)
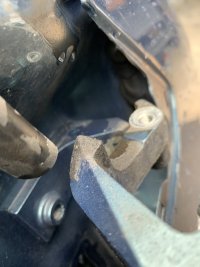
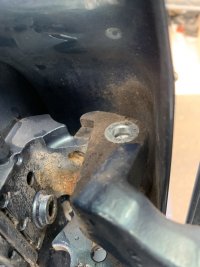
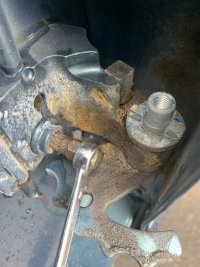
Now with the door off it’s easier to get access to the lower hinge bolts, one size 10 spline on the outside and another from the inside.
The inside one is quite tricky to get to.
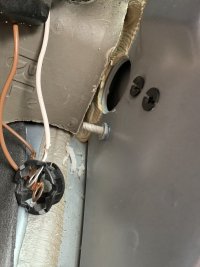
Firstly pull the carpet away from around the bonnet pull lever and try and tuck it against the pedals to keep it out of the way. Now remove the 3 T20 screws to remove the bonnet pull and move out of the way. I then removed the earth wire nut (10mm) to get everything out of the way.
Once done you’ll see a black grommet tucked in the corner, mine had sealer over the top of it to give you an idea of how close to the wheel arch it is. Remove this grommet. You then have access to the internal size 10 spline bolt. Completely remove this bolt first. Now mark around your old hinge to help with realignment of the new one. You can then remove the outside bolt and the hinge will come off.
Fitting the new one is more or less a reverse of this procedure, firstly split your new hinge by removing the 13mm bolt and removing the top section as you will just use your original part that still attached to your door.
Now fit the lower section to the post using the outside bolt and your witness marks to line it up. Once tightened in the original position you can then fit the internal bolt and tighten.
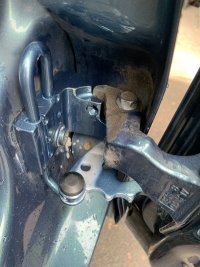
At this point you may have to put a ring spanner over the saw shaped bit and lever it to the open position, second notch from the end works best, you can now carefully lift the door back on, you’ll see a ridge on the lower hinge, this should line up with the valley shape on the door side of the hinge, and fit the 13mm bolts. Now refit the wiring and once done try the door for closing. If it needs lifted for alignment you can just slightly loosen the 2 spline bolts and lift the door from the rear bottom corner and retighten.
Once happy with the alignment do a final tighten of all the bolts and refit everything you removed.
Hopefully these pictures will help too.
Good luck,
Steve


